Home
About
Team
Awards
Reviews
Projects
Contact
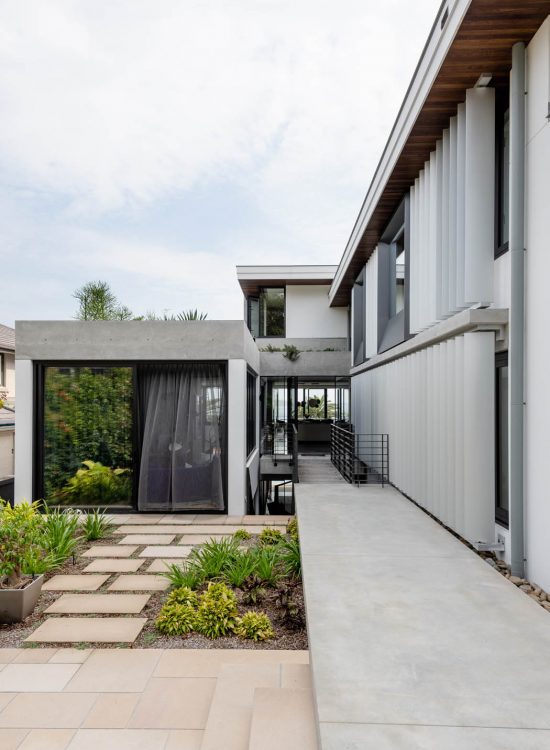
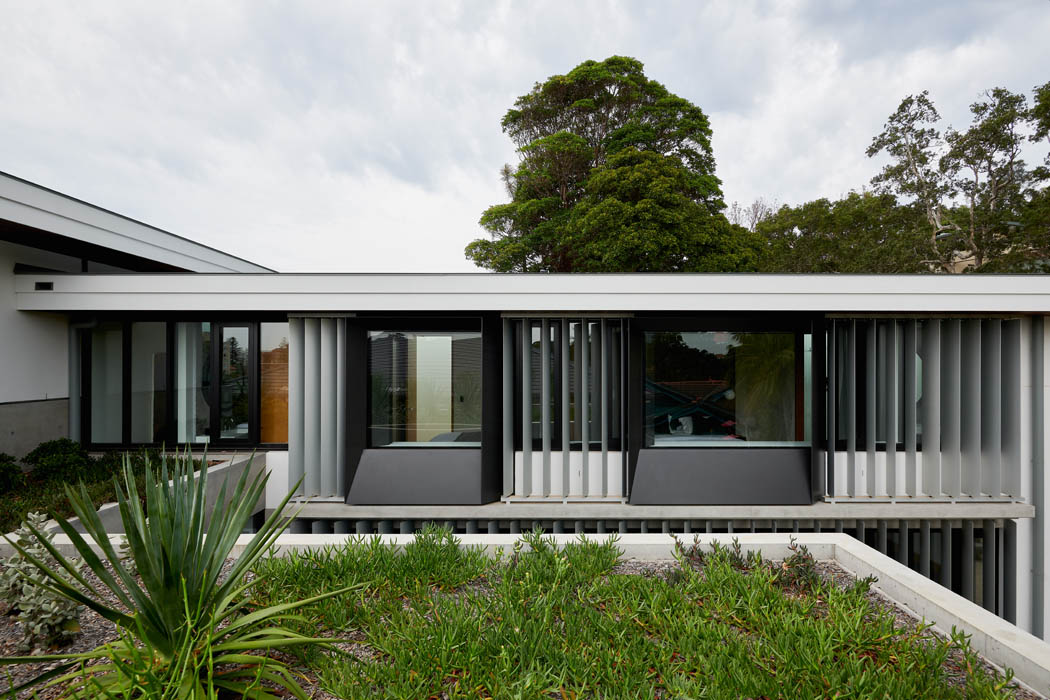
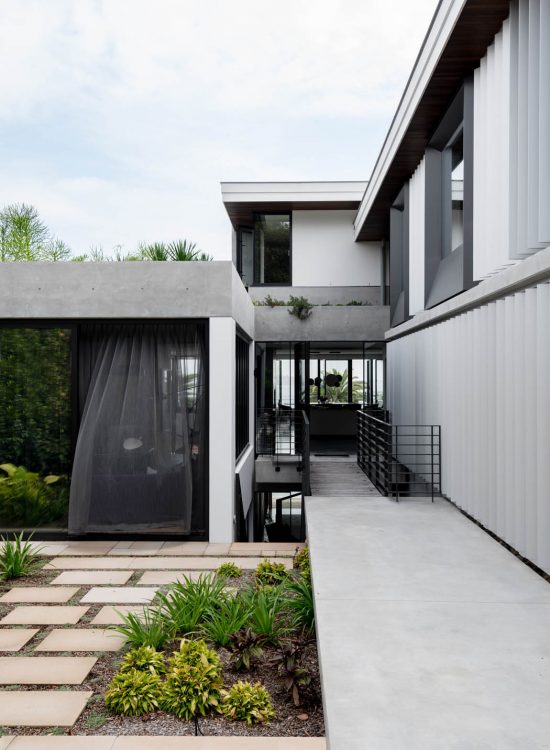
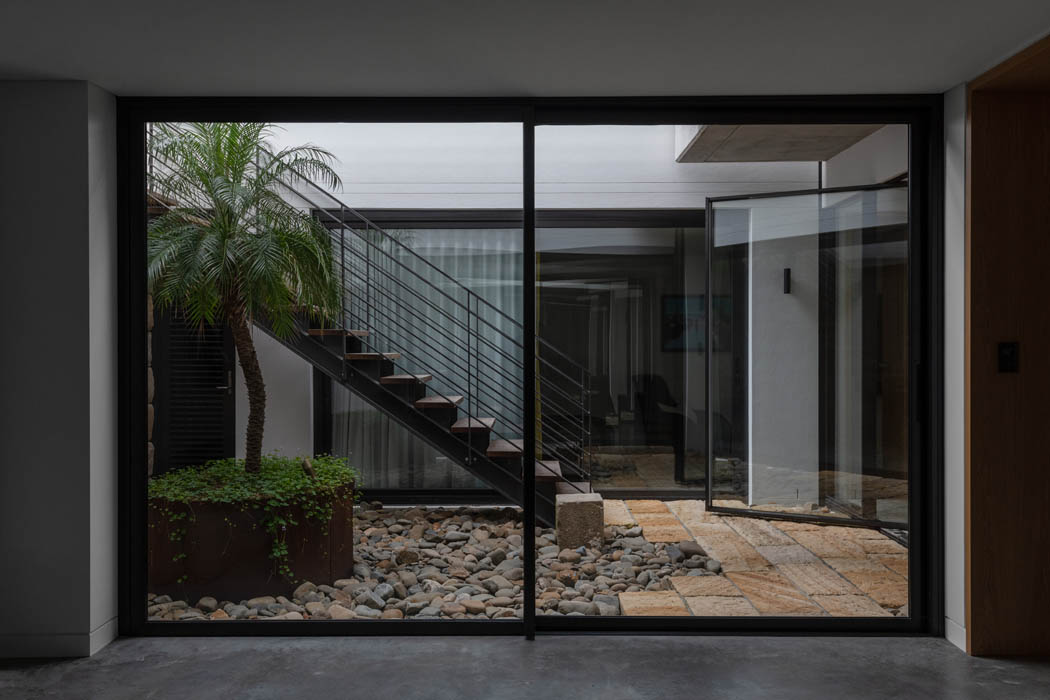
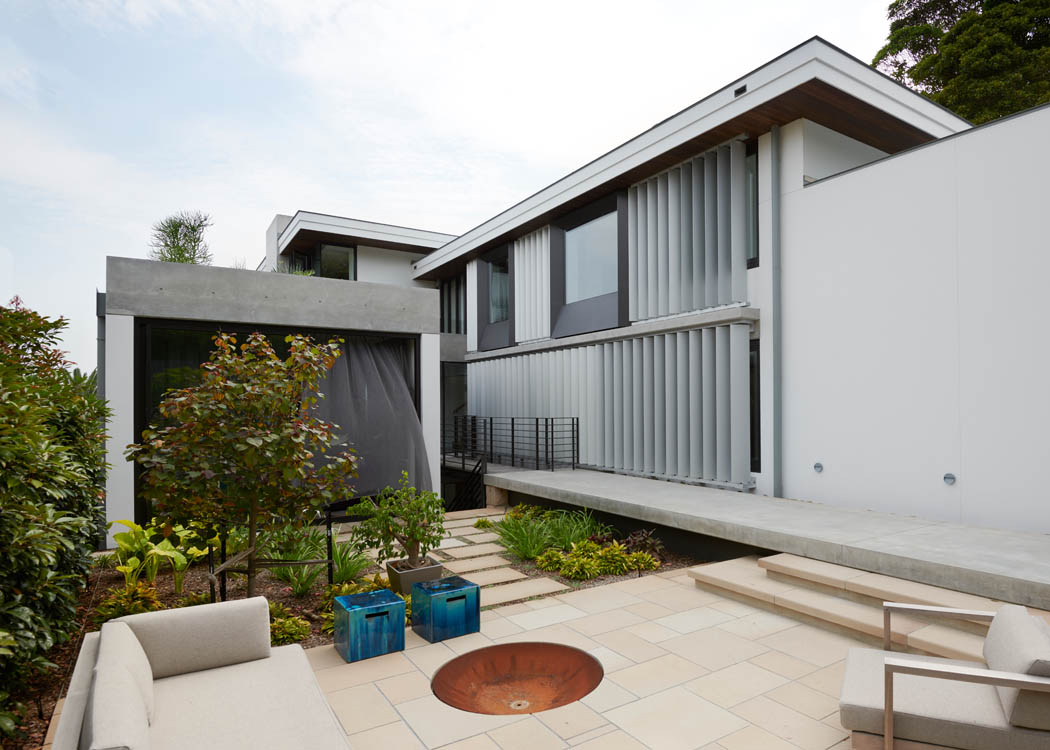
Bower St
Photo Credit:
Mitch Fong
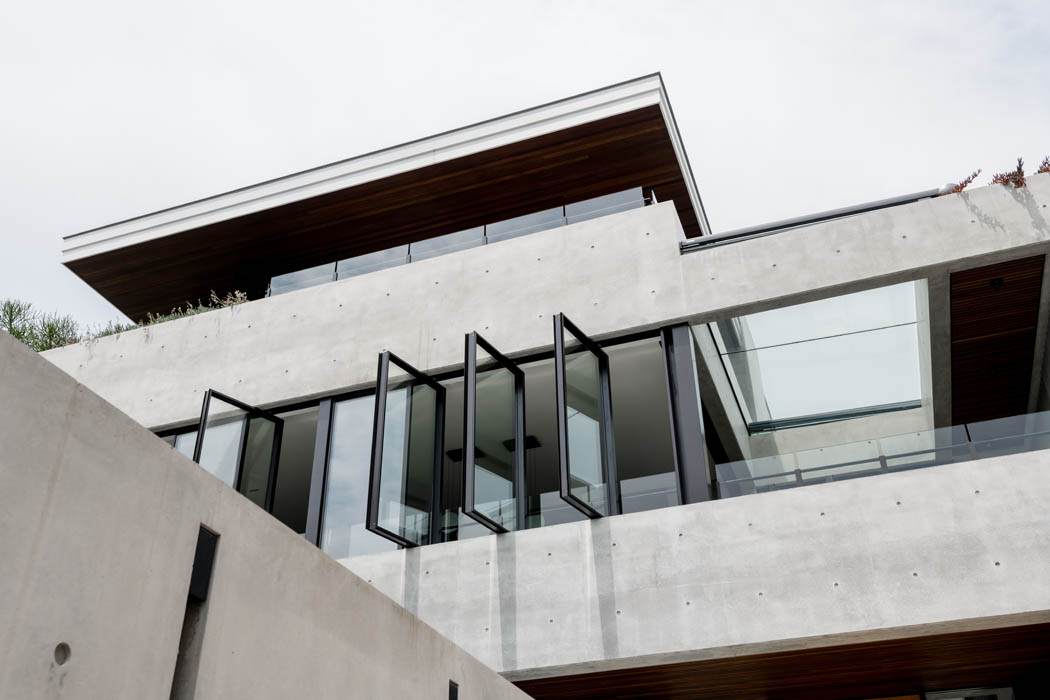
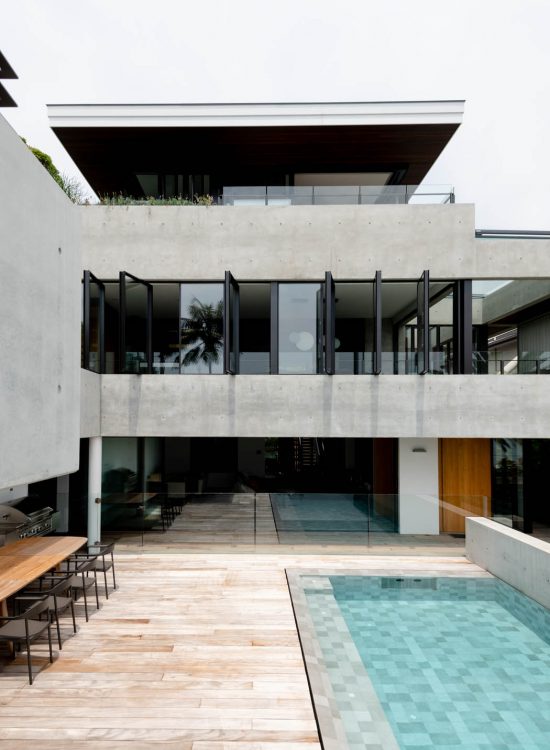
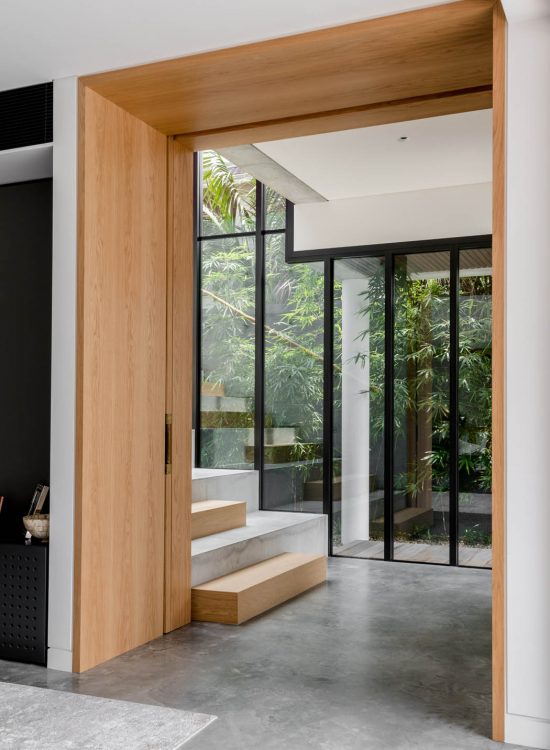
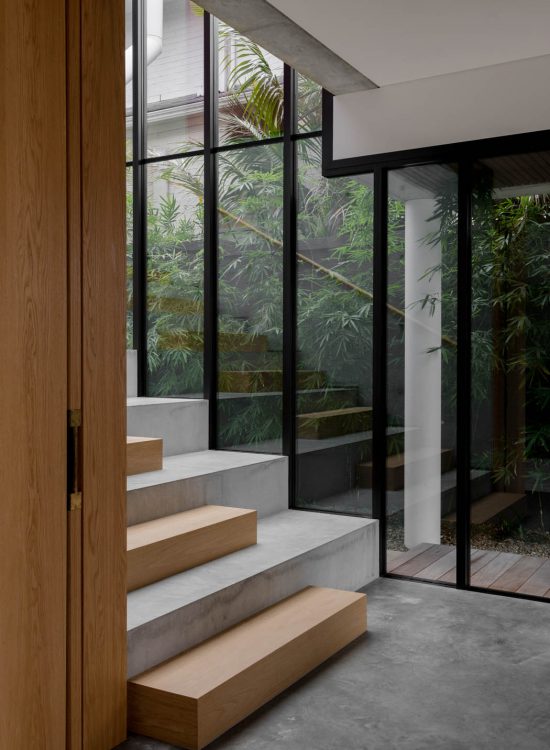
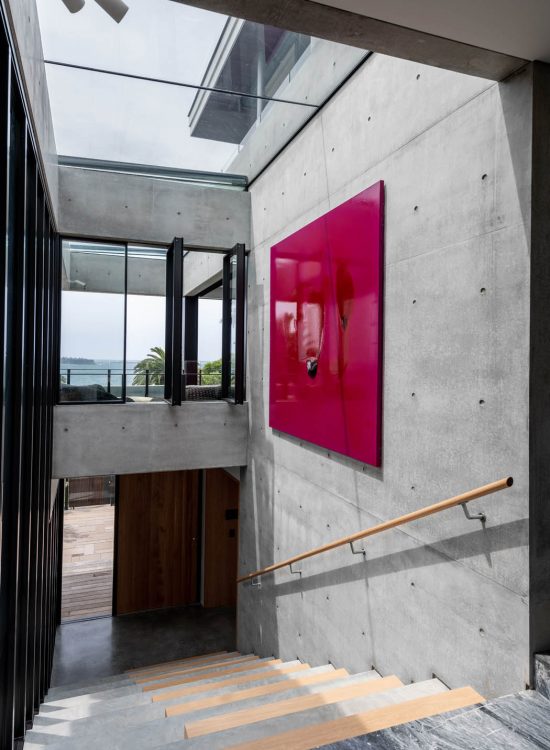
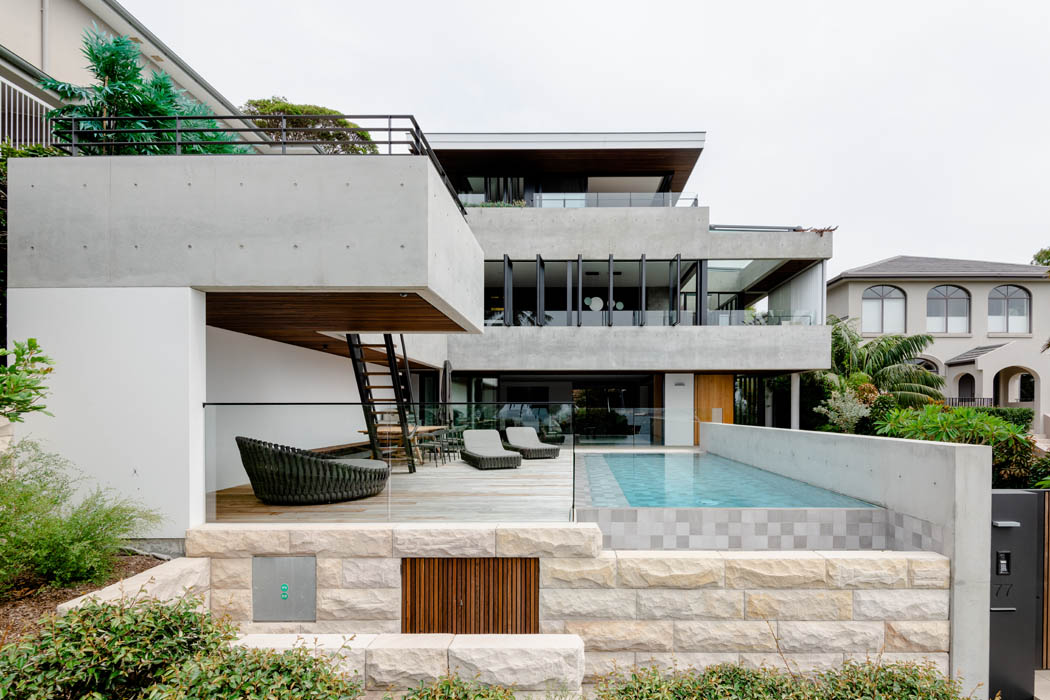
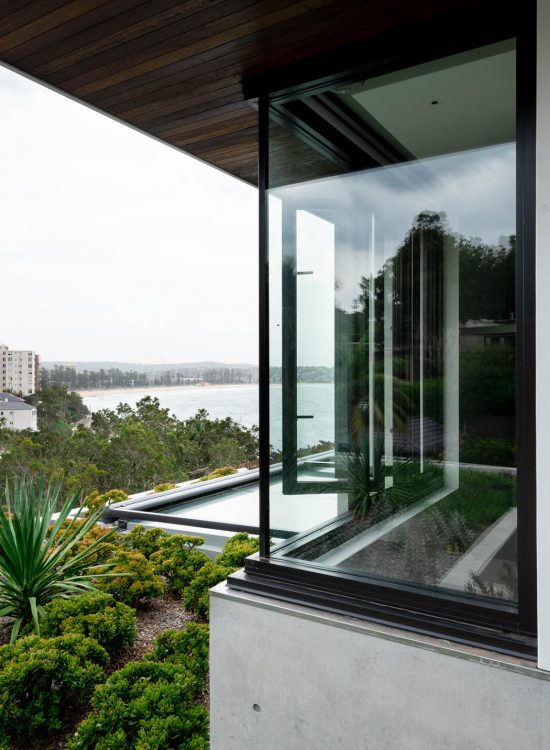
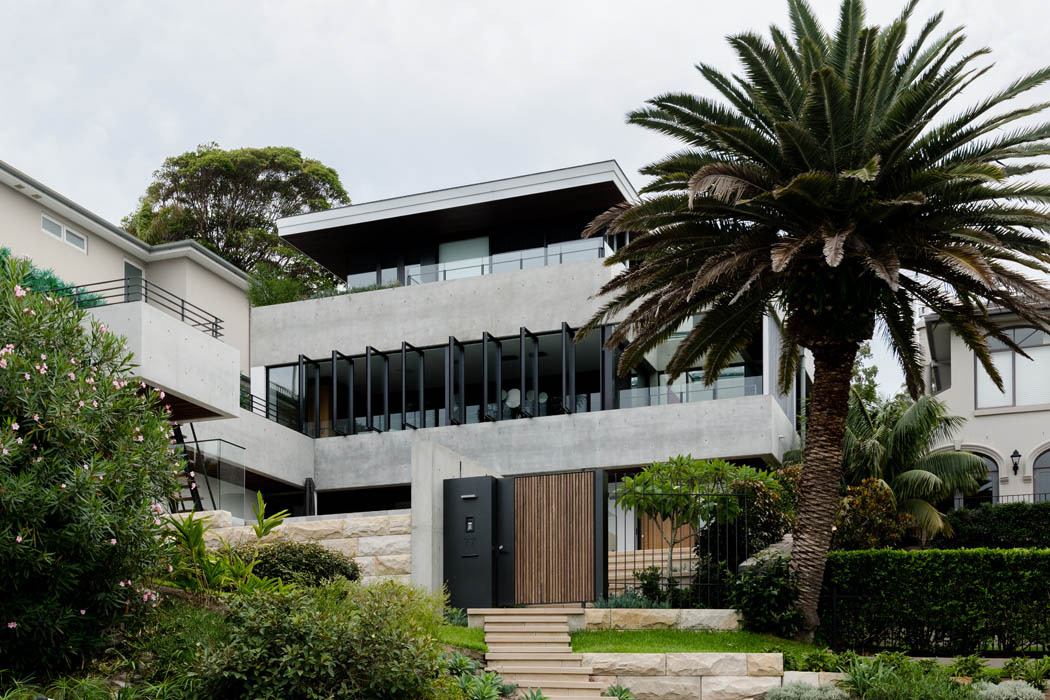
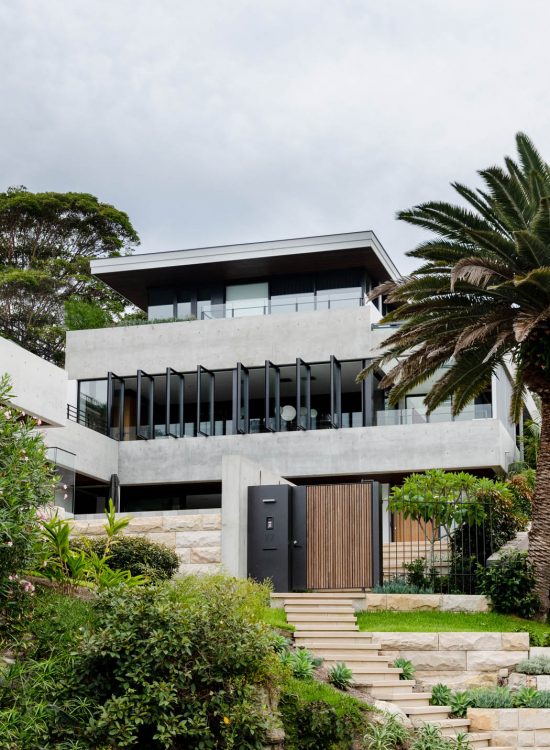
Bellevue Hill
« Previous
Bellevue Hill 3
Next »
Home
About
Team
Awards
Reviews
Projects
Contact